This is a sample of a post about an IMC Fabrication product. You can customize the excerpt that shows on the Blog screen by using this Read More button seen above: ![]()
This is the rest of the post. Anything after the — MORE — line will only show when viewing the full article.
Make your title something good and relevant – this is what Google will see first as well as anybody trying to find the topic of your article if they come across yours.
This is a heading
Use headings to help improve the SEO ranking of your post; Google looks for relevant information in headings set to H1, H2, or H3 preferably. H2 is usually noticeable without being too huge. Use the dropdown above next to the Bold icon to set your heading size. Paragraph is the default font.
Setting images
The main image of your article is set on the right side of the page under Gallery Images. You can add multiple if you want but I’d just stick with the one for this layout. Whatever you set here will show up on the Main Blog page as the article’s thumbnail and at the top of your article. Use something pretty big, at least 800px wide so it doesn’t get too distorted like on this one.
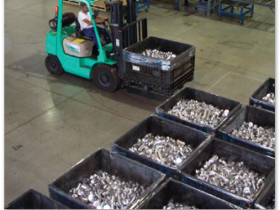
 You can include images in the article itself using the Add Media button above. Set it to Align Left or Right to make it appear beside your text with a wrap around effect. After placing it you can click the picture and hit the Edit Pencil to change your alignment or the size of the image. Use alt-text too for improved SEO: describe what’s in the image and try to work in your business name if you can naturally. This one could be “forklift moving parts at IMC Aluminum Fabrication in Unicoi, TN”.
Setting Categories
I just left a single category so anything you post should default to that. If you want to set it up later to break out news and projects to use on different pages you can do that as well.
That should be it! You can otherwise edit Posts just like you would Pages, along with the Yoast SEO box down below to set the meta information to fine-tune it for search engines.


